
This post is the first part of a two-part blog series on Importing Power Platform solution.
In this series, I would like to show how a Power Platform solution can be programmatically imported into a target environment using two ways:
- Delegated permission
- Application user
Introduction
While Application Lifecycle Management of Power Platform solutions can be done using Power Platform Build Tools in Azure DevOps, solutions can be managed using custom code (PowerShell, Rest API, SDK API) as well. In this article, I’ll try to explain how we can import a Power Platform solution into a target environment using a delegated permission.
Prerequisites
- An Azure AD App.
- Understanding of solution concepts.
- Understanding of environments.
- A CDS environment to which a solution needs to be imported.
Adding permission to Azure AD App
Before we get started with code, we need to add a permission in our AAD app. Follow these steps:
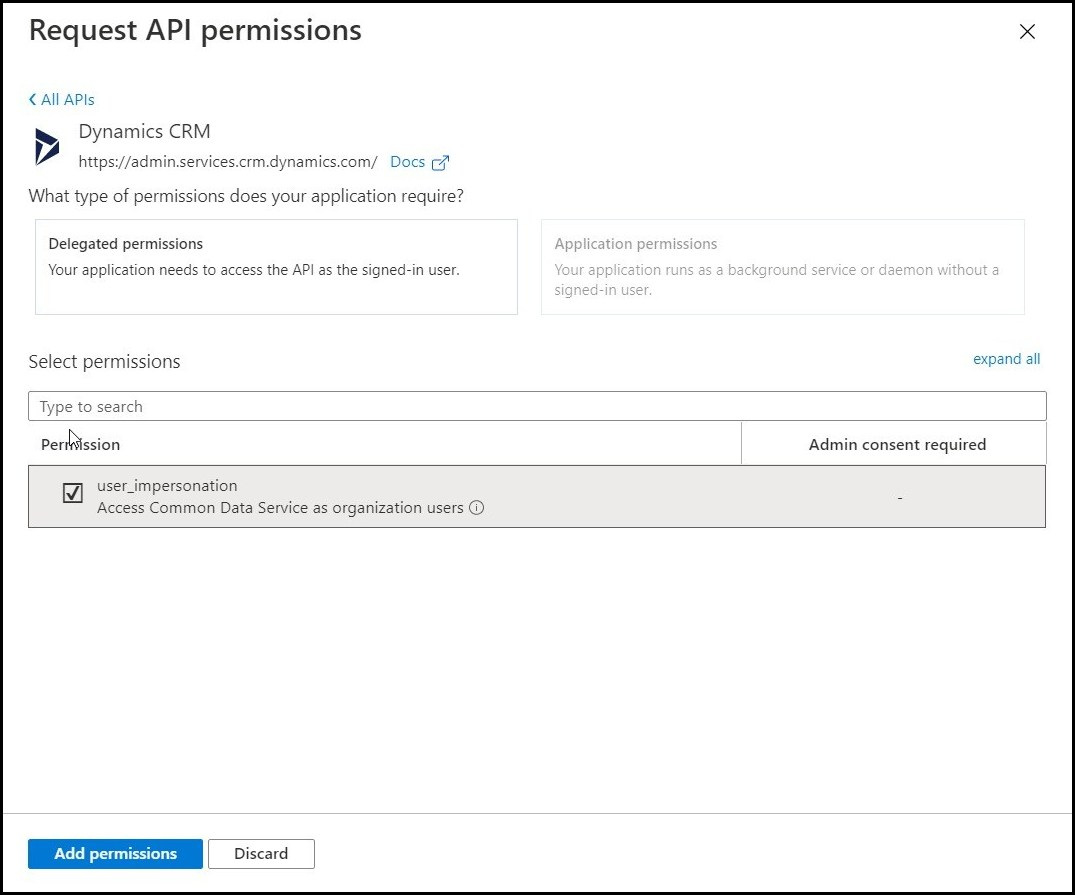
- Go to API permissions of your AAD App.
- Click on Dynamics CRM.

- As you can see, there is only one delegated permission for this API. There are no application permissions. What if I want to manage a solution outside of a user’s context? Refer to the second blog of this series for that use case. For now, let’s just add the “user_impersonation” permission.
Code
In order to import a solution to an environment, the user must be authorized to do the same. Make sure that the user has privileges to import solutions. For now, let’s assign them the Power Platform administrator role if they don’t already have the privileges.
Next, we need to install Microsoft.CrmSdk.XrmTooling.CoreAssembly Nuget package. This is the SDK using which we can manage solutions in C#.
Next, we need to pass the user’s token to Dynamics CRM API so that the user can be authorized. For this, we need to generate a token for the required environment. I can think of two ways of doing this:
- We can get token for the required environment at the time of user login (Startup.cs) and persist the token so that you can use it to pass to the resource API when required.
- We can use on-behalf-of flow, which will first authorize the user by getting a token for the AAD app, and then the same token can be used to get tokens for other resources. I think this approach is better than the first one because if you want to import a solution to multiple environments, then we can get tokens for those environments using the token which we got for our AAD app. If you follow the first approach, then you’d have to follow the login flow every time you want a token for some environment.
//1st approach
//Startup.cs
AuthenticationResult result = await authContext.AcquireTokenByAuthorizationCodeAsync(
                            code, redirectUri, clientCredential, environmentUrl); // code here is the authorization code for the user which we get in authorization code flow of OAuth
//2nd approach
//Startup.cs
AuthenticationResult result = await authContext.AcquireTokenByAuthorizationCodeAsync(
                            code, redirectUri, clientCredential, clientId); //clientId of AD app against which the user needs to be authenticated

//Some service method
UserAssertion userAssertion = new UserAssertion(token);
 //token here is the one which was generated against the AAD app
 AuthenticationResult result = await authContext.AcquireTokenAsync(destEnvUrl, new ClientCredential(clientId, appKey), userAssertion); //destEnvUrl is the url of target environment
Now the main part, importing a solution. The following code will import your solution in the required environment:
string tokenForEnvironment = result.AccessToken; //token which we generated for environment in the previous step

Uri serviceUrlDestination = new Uri(destEnvUrl +
@"/xrmservices/2011/organization.svc/web?SdkClientVersion=8.2");

OrganizationWebProxyClient sdkServiceDestination = new
OrganizationWebProxyClient(serviceUrlDestination, false);

sdkServiceDestination.HeaderToken = tokenForEnvironment;

CrmServiceClient serviceClient = new CrmServiceClient(sdkServiceDestination);

 if (serviceClient.IsReady)
 {
        byte[] fileBytes = System.IO.File.ReadAllBytes(solutionFilePath); //pass path of your solution zip file here

        ImportSolutionRequest impSolReq = new ImportSolutionRequest()
        {
                OverwriteUnmanagedCustomizations = true,
                CustomizationFile = fileBytes
        };

                serviceClient.Execute(impSolReq);
}
else
        throw serviceClient.LastCrmException;
Demo
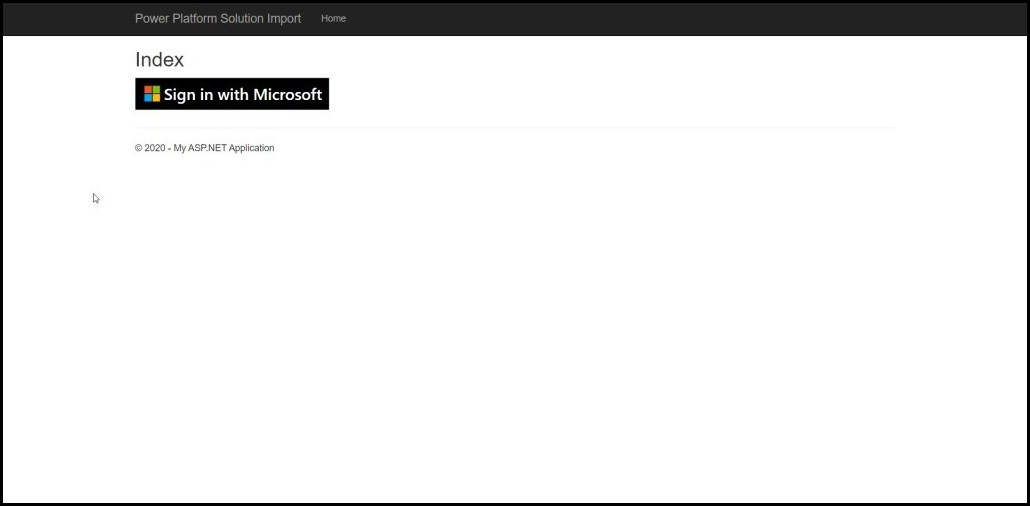
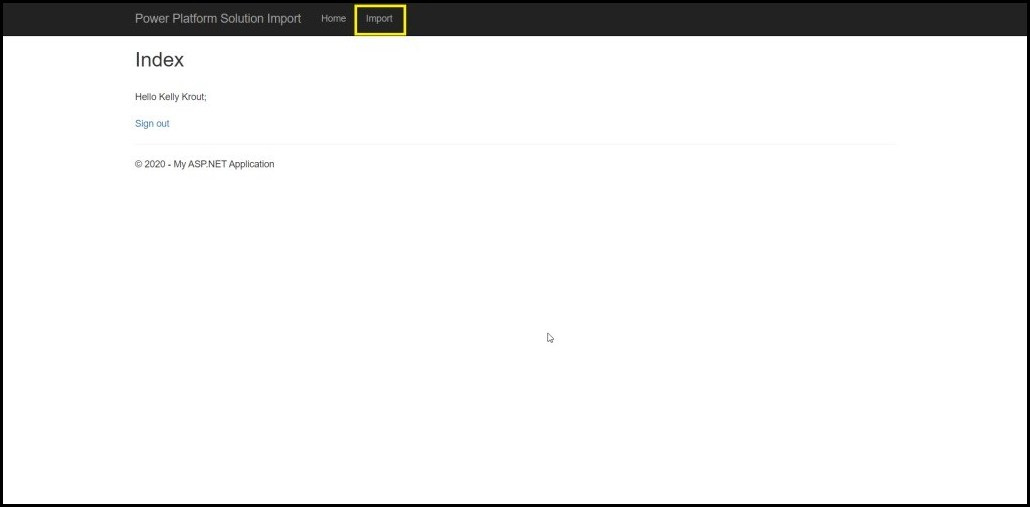
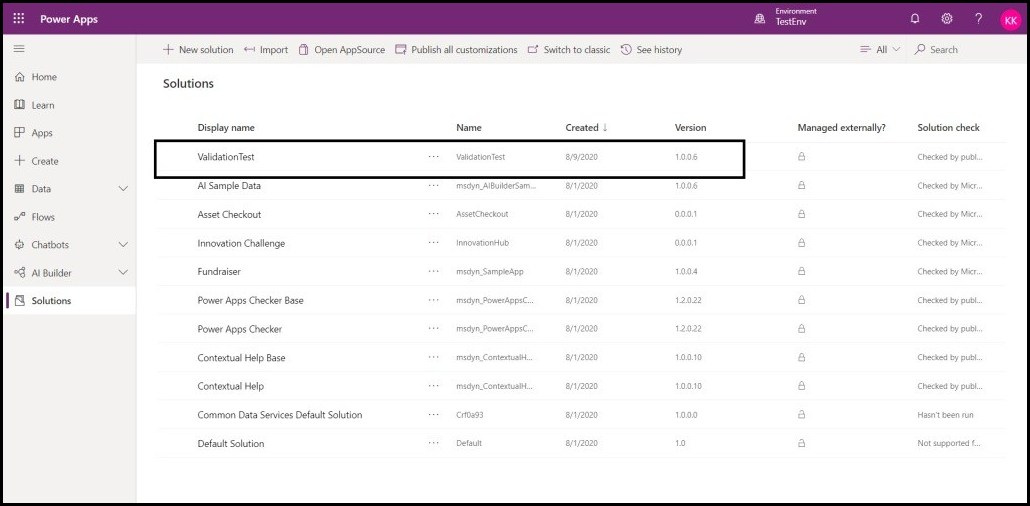
I have created a very simple ASP.NET MVC project, which imports a solution in an environment using the logged in user’s context. The user has to first sign in. After signing in, the user will be able to see a “Import” button in the navigation bar. That button calls a controller method which then handles the import logic, and after importing, the user is shown a message that the solution was successfully imported. I have hard-coded the solution file path in the code.

Thanks for reading 🙂

Leave a comment